
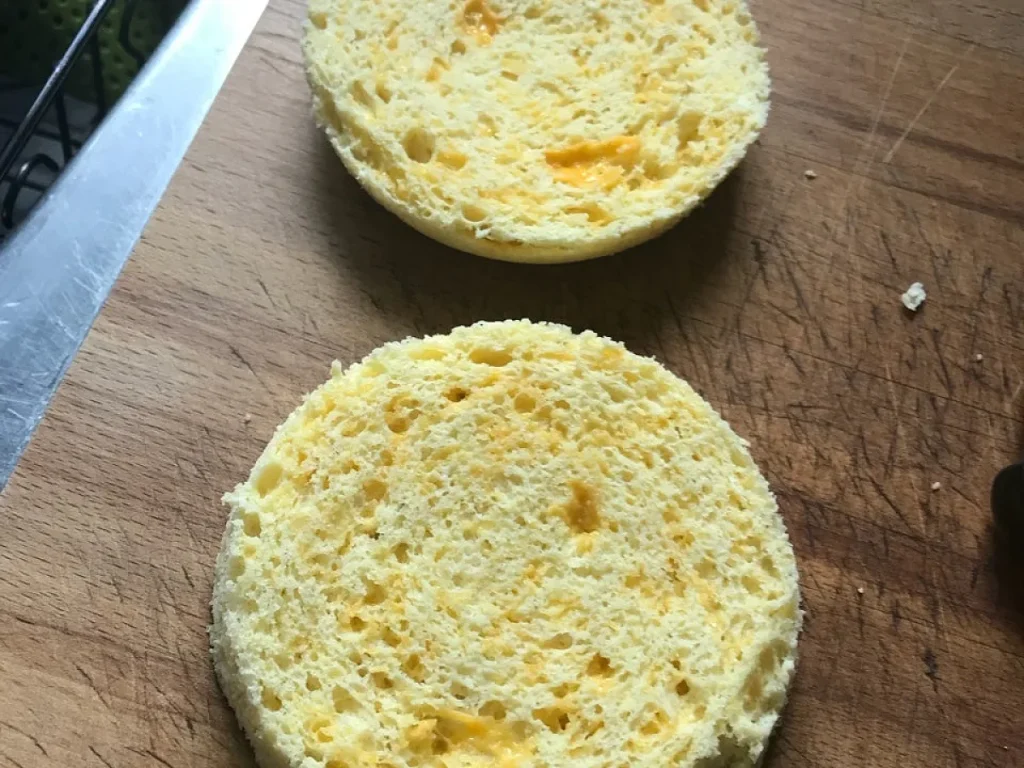
Ninety seconds. That's the whole cook time. You stir almond flour, an egg, melted butter and Parmesan in a ramekin, put it in the microwave, and pull out a small round loaf you can slice in half.
This is one serving, so it suits a quick breakfast or a sandwich base for one person. No oven, no loaf pan, no rising time. You need a fork, a microwave-safe ramekin or small bowl, and about three minutes of your attention.
The texture is closer to a savory muffin than a crusty loaf. It's soft, a little dense, and it takes well to butter, cream cheese or a fried egg on top. Once you know how your microwave behaves, it's repeatable every time.
Step-by-Step Instructions
1. Grease the ramekin
Butter or lightly oil the inside of a microwave-safe ramekin or small bowl. This keeps the bread from sticking when you turn it out.
2. Mix the dry ingredients
Add 3 tablespoons almond flour, 1/2 teaspoon baking powder, 1/4 cup shredded Parmesan, 1 teaspoon chopped rosemary, 1/2 teaspoon garlic powder, salt and pepper to the ramekin. Stir with a fork so everything is evenly spread before the wet ingredients go in.
3. Add the butter and egg
Pour in the melted unsalted butter and the beaten egg. Stir with the fork until the batter is smooth and no dry almond flour is left at the bottom. Scrape the corners of the ramekin as you go.
4. Microwave for 90 seconds
Put the ramekin in the microwave and cook on high for 90 seconds. The bread should rise above the rim and the top should look set, not wet.
5. Cool before serving
Leave the bread in the ramekin for a minute or two. Run a knife around the edge, turn it out, and slice it in half or serve it whole.
Pro Tips
How to Store 90-Second Keto Bread
Refrigerator
Wrap the cooled bread tightly or put it in a small container and keep it in the fridge for up to 3 days.
Freezer
Wrap it whole in plastic wrap, then foil, and freeze for up to 1 month. Thaw in the fridge overnight.
Reheating
Warm it in the microwave for 15 to 20 seconds, or split it and toast it in a skillet over medium heat until the cut side is golden.
Variations
- Swap the Parmesan for shredded cheddar for a milder, meltier bread.
- Leave out the rosemary and add a pinch of dried oregano or Italian seasoning instead.
- Add a tablespoon of flaxseed meal in place of a tablespoon of almond flour for a nuttier flavor.
Frequently Asked Questions
Q: Why did my keto bread come out rubbery?
It was probably cooked too long. Ninety seconds on high is the target, but microwaves vary. Stop as soon as the top looks set. Ten extra seconds is usually enough if it's still wet in the middle.
Q: Can I make this without a microwave?
The recipe is built around the microwave, and the timing won't carry over directly. If you want to bake it, use a small oven-safe ramekin at 350°F and check it every few minutes, since the batter is small and cooks fast.
Q: Can I use almond meal instead of almond flour?
You can, but the bread will be coarser and a little heavier. Blanched almond flour gives the smoothest result.
Q: Is this bread gluten free?
It's made with almond flour and no wheat flour, so there's no gluten in the ingredient list. Check the labels on your Parmesan and baking powder if you're cooking for someone with a strict allergy.
Q: Can I double the recipe?
Use two ramekins rather than one bigger one. A larger single batch won't cook evenly in the same 90 seconds, and the middle will stay wet.
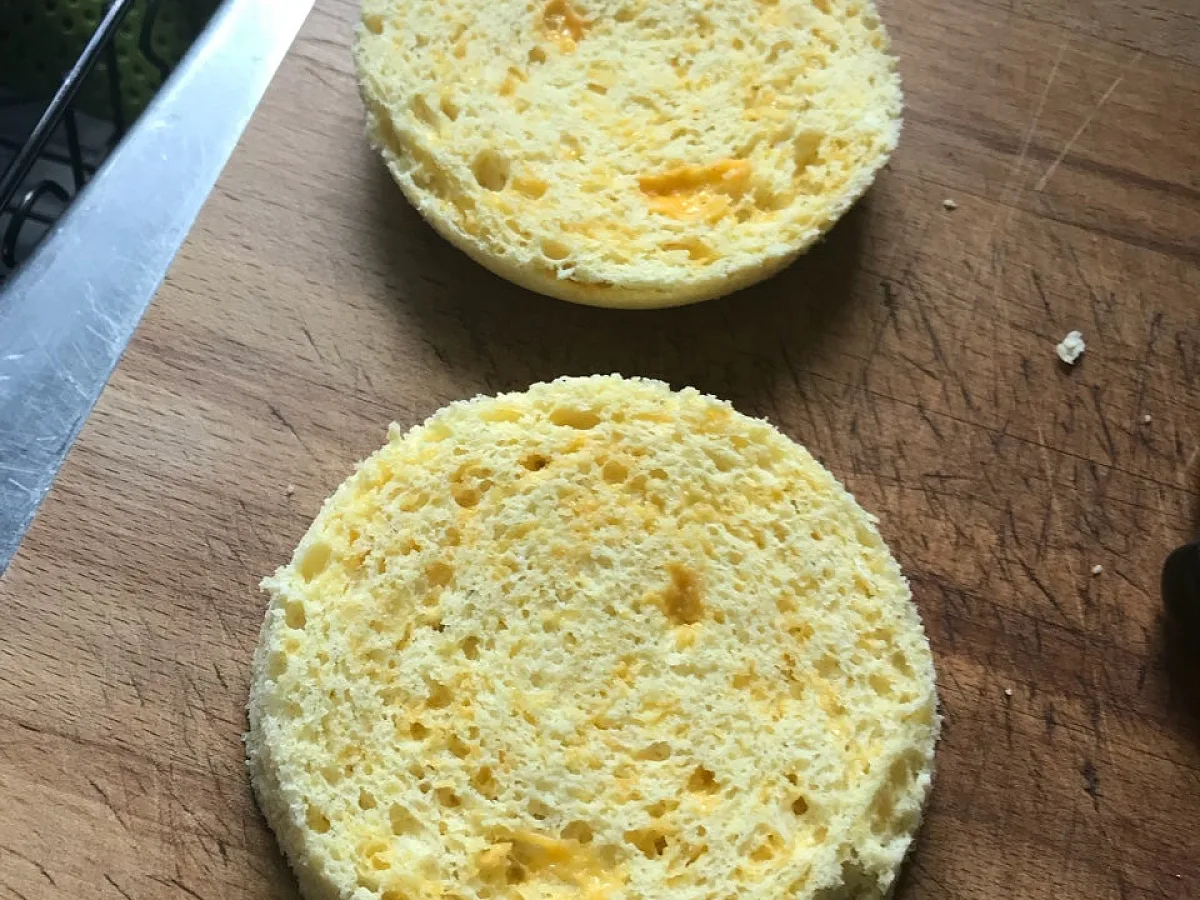
90-Second Keto Bread: Microwave Almond Flour Recipe
One ramekin, one fork, ninety seconds in the microwave. Almond flour, Parmesan and rosemary make a single-serving keto bread with no oven needed.
Ingredients
Instructions
- 1Grease the ramekin — Butter or lightly oil the inside of a microwave-safe ramekin or small bowl. This keeps the bread from sticking when you turn it out.
- 2Mix the dry ingredients — Add 3 tablespoons almond flour, 1/2 teaspoon baking powder, 1/4 cup shredded Parmesan, 1 teaspoon chopped rosemary, 1/2 teaspoon garlic powder, salt and pepper to the ramekin. Stir with a fork so everything is evenly spread before the wet ingredients go in.
- 3Add the butter and egg — Pour in the melted unsalted butter and the beaten egg. Stir with the fork until the batter is smooth and no dry almond flour is left at the bottom. Scrape the corners of the ramekin as you go.
- 4Microwave for 90 seconds — Put the ramekin in the microwave and cook on high for 90 seconds. The bread should rise above the rim and the top should look set, not wet.
- 5Cool before serving — Leave the bread in the ramekin for a minute or two. Run a knife around the edge, turn it out, and slice it in half or serve it whole.

Maya writes about easy American cookies and bars, plus eggs and breakfast casseroles for busy mornings. She focuses on pantry-friendly ingredients, reliable bake times, and make-ahead steps that fit real weekday schedules. Her recipes keep instructions short and checkpoints clear so nothing gets overbaked or underdone.


Questions or cooking notes?
Ask about an ingredient or share a tip that could help someone else.